

Where: Platform at hideout.rootaccess.ai/ → home page → New project.
Create the project
The wizard walks you through four steps:1
Name it
Pick a name. You can rename later.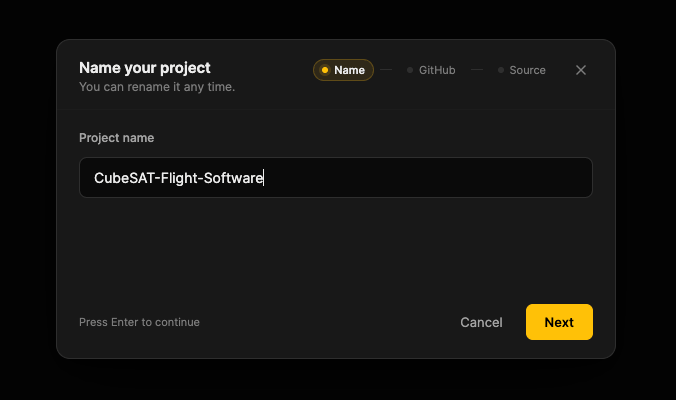
2
Connect a repo
Connect a GitHub or GitLab repo.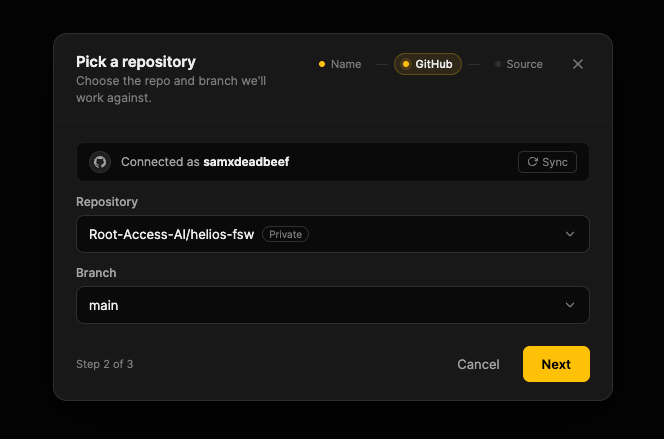
3
Invite teammates (optional)
If your organization already has members, pick them from the list to add with one click. You can also invite anyone by email. Everyone joins as a member; change roles later in Project Settings → Members. Skip it if you’re working solo for now.
4
Pick a next move
Bring in project requirements, link Jira or Linear projects, or directly talk to Seb about what you want to build.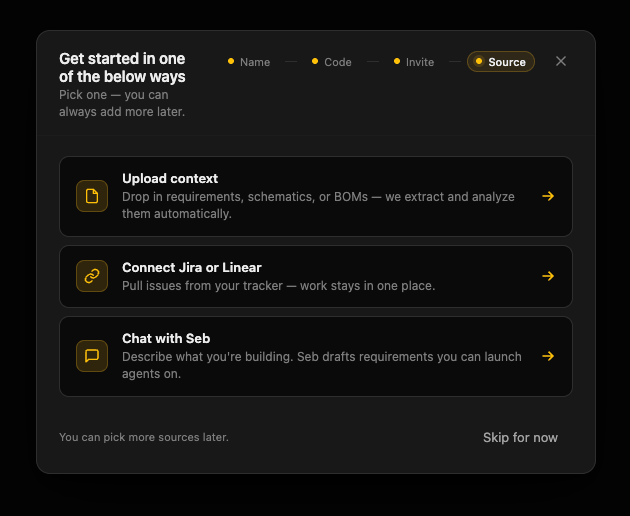
Link a work tracker (optional)
To mention Jira or Linear tickets in your messages when launching agents:- Profile → Integrations → Connect Jira or Connect Linear.
- Project Settings → Integrations → link a project (Jira) or team (Linear) to this Hideout project.
KAN-42 or ROO-1163 when you chat with Seb on the Agents page pulls the ticket’s title and description in as context. See the Jira and Linear pages for the connection and linking steps.
Target a compliance standard (optional)
If your project is held to a formal compliance standard — DO-178C, ISO 26262, IEC 62304 — pick the standards on the Context page and set the traceability policy in Project Settings. Gap analysis uses them to score your codebase.Settings, members, danger zone
Project Settings (/project-settings) covers rename, traceability policy per requirement level, member invites (owner / admin / member), per-project integration links, and project deletion.